Introduction
Tired of prepping dinner on a cluttered counter with nowhere to chop, mix, or organize your ingredients? A well-designed prep station can transform your cooking experience. In this guide, you’ll learn how to build a basic food prep station using what you already have at home or with just a few smart upgrades. It’s all about improving efficiency, reducing mess, and enjoying smoother meal prep every day.
Why Building a Food Prep Station Matters in the Kitchen
A food prep station is your command center for chopping, slicing, mixing, and assembling meals. Without one, kitchen tasks become scattered and frustrating—leading to more time, more mess, and more stress.
By creating a dedicated space for prepping ingredients, you can streamline your cooking workflow, keep surfaces sanitary, and maintain better organization. Whether you’re prepping for a big meal or just cutting up fruit for the week, having a go-to spot makes the process faster, cleaner, and more enjoyable.
Plus, a good prep station encourages healthy cooking habits and makes it easier to batch prep meals in advance, reducing your weekly workload.
Step-by-Step Guide to Building a Basic Food Prep Station
1. Choose the Right Location
Start by identifying a space on your kitchen counter that you can dedicate to food prep. Ideally, it should be:
- Close to the sink for easy washing
- Near the fridge or pantry for quick ingredient access
- Away from hot appliances like the stove or toaster oven
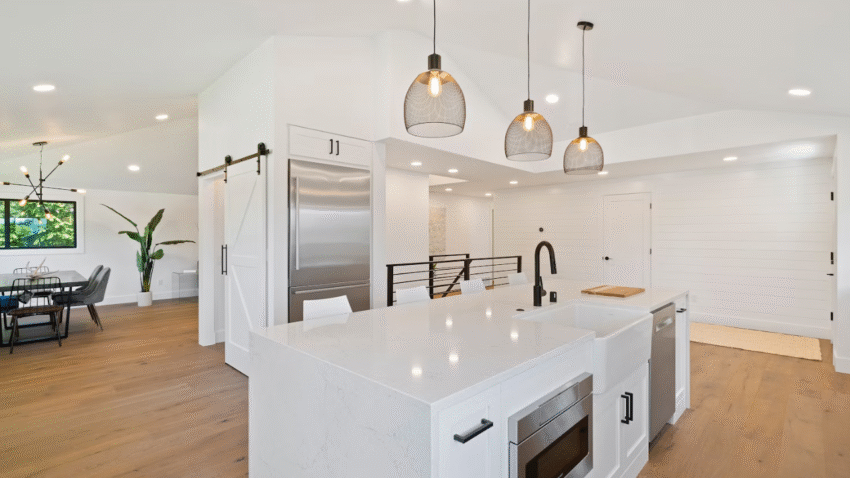
Tip: If counter space is limited, consider using a kitchen island, pull-out cutting board, or even a rolling cart as your station.
2. Clear the Space
Remove everything that doesn’t directly support food prep:
- Unused gadgets
- Decorative items
- Mail or clutter
Wipe down the surface with an all-purpose cleaner or vinegar solution. This is your fresh canvas.
3. Lay Down a Cutting Surface
Place a large, non-slip cutting board at the center of your station. For serious meal prep, consider having two boards:
- One for produce
- One for meat or poultry
Kitchen Tip: Using color-coded boards can help prevent cross-contamination.
4. Set Up Basic Prep Tools
Stock your prep station with the essentials:
- Chef’s knife
- Paring knife
- Kitchen scissors
- Peeler
- Measuring cups and spoons
- Mixing bowl
- Trash bowl or compost bin
Keep these items within arm’s reach. Use a nearby drawer, wall rack, or utensil holder to store them neatly.
5. Add Ingredient Holders
Use small bowls, ramekins, or storage containers to hold prepped ingredients as you go. This keeps your station organized and makes cooking feel more professional.
Pro Tip: Group ingredients by recipe so you can cook efficiently without stopping to find everything.
6. Use a Trash or Scrap Bowl
Keep a small bowl or bin at your station for peels, scraps, and packaging. This cuts down on trips to the trash and keeps your surface clean.
Alternatively, place a compost bin under your counter if you prefer to compost food waste.
7. Optimize Lighting
Make sure your prep area is well-lit for safe chopping and slicing. Use under-cabinet lighting, a bright overhead light, or a moveable lamp to ensure visibility.
8. Keep a Sanitizing Spray or Wipes Nearby
Between prepping different ingredients, it’s essential to wipe down surfaces quickly. Keep a spray bottle of diluted vinegar or a food-safe disinfectant near your station for fast clean-ups.
9. Create a Prepping Routine
Now that your station is set up, build a routine around it:
- Wash and dry produce before placing it in your station
- Prep ingredients in order (veggies first, proteins last)
- Clean as you go to avoid pile-ups
- Put away unused tools when done
This will turn your prep station into a time-saving habit, not just a setup.
Common Mistakes to Avoid
Mistake 1: Cluttering the Space
Too many gadgets or unnecessary items make the station inefficient.
Solution: Stick to the basics and only keep out what you use frequently.
Mistake 2: No Separation Between Raw and Ready-to-Eat Foods
Cross-contamination is a real risk.
Solution: Use separate boards and bowls for raw meat and produce.
Mistake 3: Poor Lighting
Dim lighting increases the risk of cutting accidents.
Solution: Install under-cabinet lighting or use a task light above your station.
Mistake 4: No Trash Solution Nearby
Running to the trash repeatedly disrupts your flow.
Solution: Use a counter-top bowl or compost bin for easy scrap disposal.
Mistake 5: Ignoring Ergonomics
A bad prep setup can cause strain or discomfort.
Solution: Ensure the counter height is comfortable and keep tools within reach.
Extra Tips & Kitchen Hacks
Use Drawer Organizers
Keep your prep tools neat and sorted so you’re not rummaging during prep time.
Add a Portable Prep Cart
No room on your counters? Use a rolling kitchen cart as a mobile prep station you can tuck away after use.
Label Your Containers
If you meal prep frequently, labeling your ingredient containers can save time and prevent confusion.
Related Task: Once your prep station is ready, consider setting up a weekly meal prep plan so you can take full advantage of your new workspace.
Conclusion
Building a basic food prep station doesn’t require a full kitchen renovation—it just takes a bit of planning, some essential tools, and a dedicated space. Once you have it set up, you’ll wonder how you ever cooked without one. It’ll speed up your cooking, reduce mess, and make your kitchen feel more professional and organized.
One final tip? Keep your prep station flexible—adapt it to your needs, cooking style, and space. Bookmark this guide to revisit whenever your workflow needs a reset.
